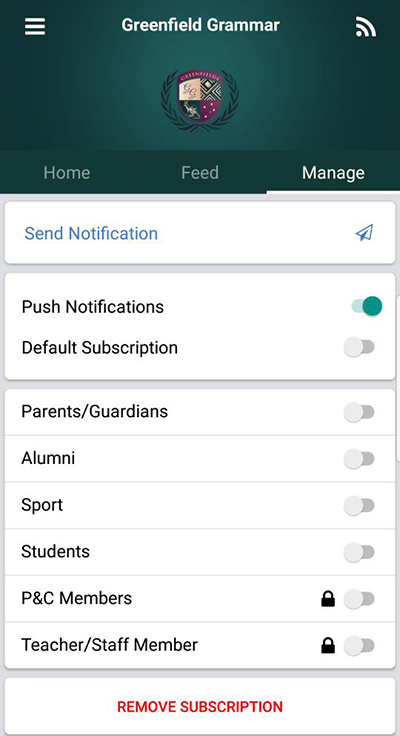
Keeping your community informed is easier than ever with the ‘Send Notification’ functionality available within SZapp. If you are a System user with the required permissions, this item will be under the ‘Manage’ tab allowing you to send communications remotely, whilst on the go.
Note: You must be logged into SZapp with the same details you use for your Control Centre.

Sending a Notification via SZapp
- Navigate to the ‘Manage’ tab of SZapp and select’ Send Notification’.
- Once signed in you will be presented with a ‘Send Notification’ interface.
- Enter the Notification Title you would like to apply to your message.
Note: There is a 40 character limit for the title. - If needed, adjust your Send Date and Send Time to postpone the message. Select Next.
Note: If you would like to send straight away, you will not need to adjust these fields. - Populate the content of your SZapp notification using the content window, and applying basic styling and formatting using the toolbar before selecting Next.
- Select your groups in the dropdown, or select All to send to all SZapp contacts, then select Next.
- From here, you can review your SZapp notification before you Send.
Should you need to adjust any content, you can navigate Back at any time prior to sending.
Editing/Deleting a Notification via SZapp
- Navigate to the ‘Manage’ tab of SZapp and select’ Send Notification’.
- Once signed in you will be presented with a ‘Send Notification’ interface.
- Click on the ‘Managed Feed’ tab.
- Use the Pencil Icon to Edit a notification.
- Use the Red Remove icon to delete a notification.

