The updated 2020 templates allows you the option of updating your website with new tiles or update the current tiles.
Please Note: If you are using our Legacy templates, you will still need to contact Schoolzine to update these images.
To create a new tile, follow these steps:
Uploading the background image
- Login to your Control Centre and select the Content menu tab.
- Once expanded, select Media Library.
- Select and drag your image file into the Quick Add box at the top of the screen.
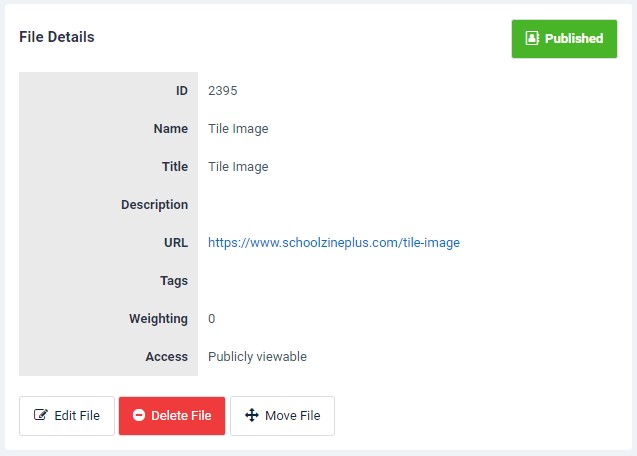
- Once it has finished uploading, click the Name of the file to view the File Details.
- Copy the URL.

Create the tile
- Select the Content menu tab.
- Once expanded, select Content Holders.
- Create a new Content Holder by clicking the New Content Holder button at the top left of the page.
- Add the Name of the Content Holder using the name field.
- Within Tag field, select the tag called Content Tile
- Add a number to the Weighting field. The highest number being that of the first tile in the list, the lowest number being the last spot of the list.
- Depending on the type of tiles you have on the site, you may need to add content to the main content editor.
- Paste the URL of the image uploaded into the Background Image URL field.
- To add a link to the site add the link URL to the Tile Link URL field.
- Then add the text to be displayed for the link into the Tile Link Text field.
- Click the Show Title checkbox if you want the title shown in the tile.
- Click the Show Content checkbox if you want the content to display on the tile.
- Click Save.
Note: Types of Tiles
Please note that not every tile format has all options available surrounding the types of content that can be displayed. All tile types are given the ability to display the following:
- Name
- Link
- Background Image
Not all tiles have the ability to use the link text or add the content from the main content area. If there is any question around the functionality available to the tiles on your website, please contact our website team for clarrification.

